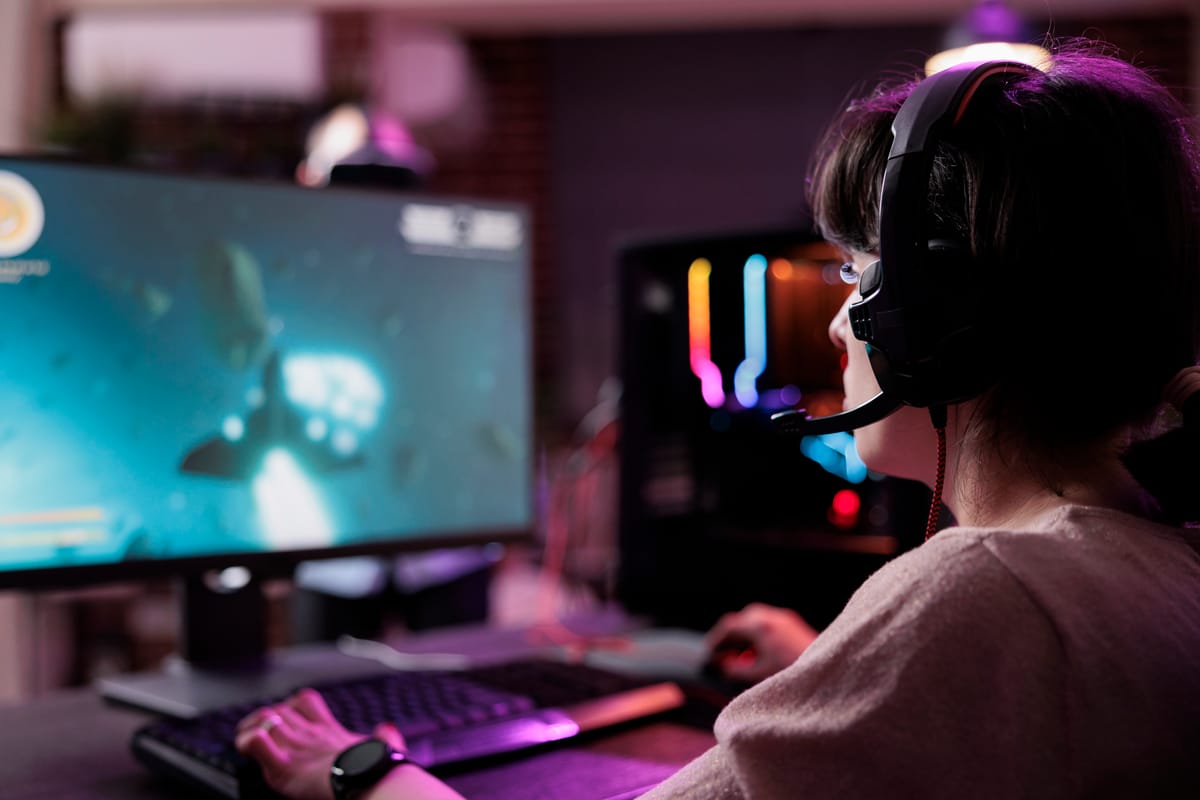
Thinking about starting your live streaming journey but not sure where to begin? Whether you're planning to stream games, chat with your audience, or broadcast creative content, having the right equipment can help you look and sound your best while keeping your setup smooth and reliable.
Before we dive deeper into each component, here’s a quick checklist of the essential equipment categories you’ll need to start streaming:
- Streaming Device (PC, laptop, or gaming console)
- Microphone (for clear audio communication)
- Camera or Webcam (to connect visually with your audience)
- Lighting (to improve video quality and visibility)
- Capture Card (if you’re streaming from a console)
- Streaming Software (to manage your broadcast)
- Internet Connection (a stable, high-speed connection is a must)
- Optional Accessories (such as green screens, headphones, or stream decks)
Let’s break down each of these components to help you build your perfect beginner streaming setup.
1. Streaming Device: PC, Laptop, or Console
Your streaming device is the heart of your setup. While you can technically go live from a smartphone, a desktop PC, gaming laptop, or gaming console will offer far more flexibility, especially if you plan to use overlays, alerts, and external cameras.
For PC or Laptop:
- A modern multi-core processor (Intel i5/Ryzen 5 or better)
- At least 16GB of RAM (more if you're gaming and streaming on the same device)
- A dedicated graphics card
- Wired internet connection with at least 10 Mbps upload speed
For Console:
Many streamers start with consoles like the PlayStation 5 or Xbox Series X, which offer native streaming to Twitch and YouTube. However, if you want to use custom overlays, webcam feeds, or stream to multiple platforms, you'll need a PC and capture card to connect your console.
2. Microphone 🎙️
Audio quality is one of the most important aspects of a professional-looking stream. Even if your video quality isn’t perfect, people will stick around if your voice is clear and pleasant to listen to.
USB microphones are easy to set up and great for beginners. For higher quality or advanced setups, XLR microphones paired with an audio interface are a common upgrade.
Bonus tip: Use a pop filter or foam windscreen to cut down on unwanted noise from breathing and plosive sounds.
3. Camera or Webcam 📷
While showing your face isn’t a requirement, it can help build trust and connection with your audience. A decent webcam can get the job done for most beginner setups. If you're aiming for higher video quality, a DSLR or mirrorless camera with a capture card will give your stream a professional look.
Make sure your camera is positioned at eye level and you’re well-lit for the best results.
4. Lighting 💡
Good lighting can make an affordable webcam look fantastic. Natural light can work in a pinch, but for consistency and quality, consider using ring lights or softbox lighting. The goal is to evenly illuminate your face without harsh shadows.
A simple rule of thumb: light should face you from the front at a slight angle to reduce glare and create depth.
5. Capture Card (for Console Streaming) 🎮
If you're streaming from a console and want to use a PC for overlays, webcam feeds, or additional controls, a capture card is a must. It transfers the video and audio signal from your console to your PC so you can manage everything through your streaming software.
Make sure your capture card is compatible with your console and supports your desired resolution (usually 1080p or 4K).
6. Streaming Software
Streaming software helps you combine video, audio, and overlays into one cohesive live broadcast. It’s where all your inputs come together before being pushed to platforms like Twitch, YouTube, or Facebook Live.
Popular options include:
- OBS Studio – Open-source, customizable, and widely used
- Streamlabs – Beginner-friendly with built-in themes and alerts
- Twitch Studio – Great for newcomers streaming only on Twitch
- Restream Studio – A browser-based option for multistreaming with guests
Choose the one that fits your comfort level and platform needs.
7. Internet Connection 🌐
You’ll need a strong and stable internet connection to avoid lag and maintain stream quality. A wired Ethernet connection is ideal, with at least 10 Mbps upload speed recommended for 1080p streaming.
Streaming over Wi-Fi can work, but it introduces more variables and instability—especially if multiple people are using your network.
8. Optional Accessories
While not necessary to get started, these add-ons can level up your stream as you grow:
- Green screen – Allows you to remove or replace your background
- Headphones – Help you monitor your audio and avoid echo
- Stream deck – Lets you control scenes, sounds, and commands with one click
- Second monitor – Makes it easier to manage chat, alerts, and backend tools
Final Thoughts
Getting started with streaming doesn’t mean you need a studio or expensive gear. Focus on the basics—clear audio, a decent camera, good lighting, and stable internet. As your skills and audience grow, you can invest in upgrades that match your content style and streaming goals.
Remember: The best streaming setup is the one that gets you live. Don’t wait for perfect—start with what you have, and build from there.

